WSC 123 Wiess College
-
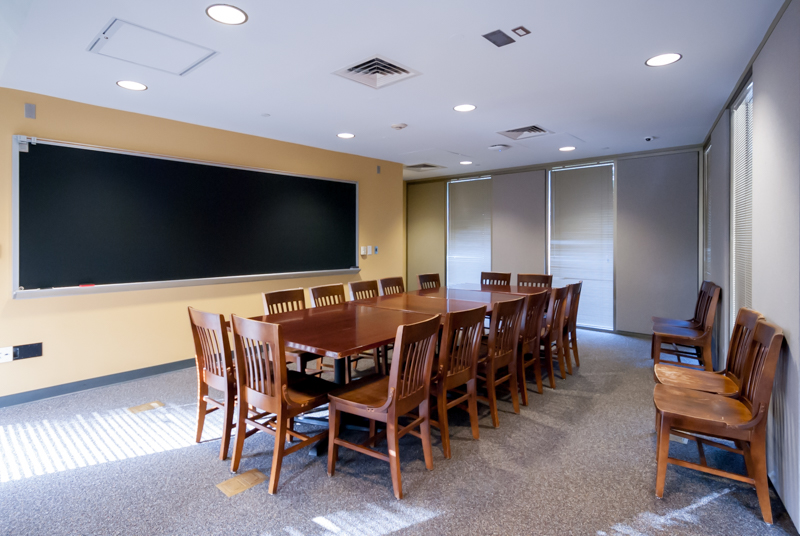
 Main Entrance View
-
 Front/Center View
-
 Front/Side View
-
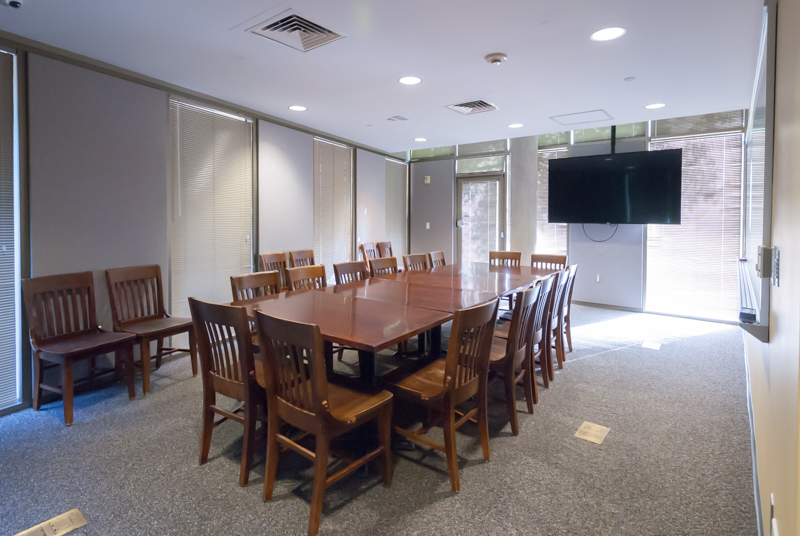
 Rear/Side View
-
 Rear View-Screen Off
-
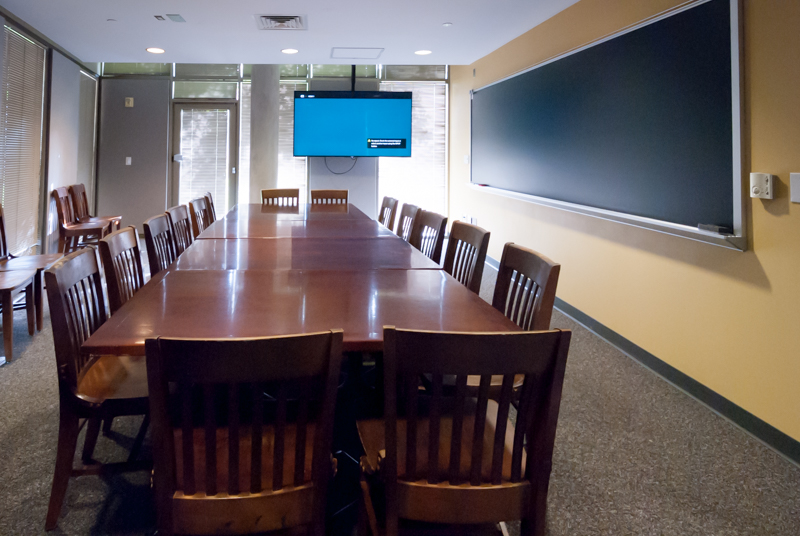
 Rear View-Screen On
- Room Type
- Conference Room
- Seats
- 14 - Stadium seating
- Lighting
-
Incandescent
- Windows
- Windows without blinds/shades
- Writing Surface
-
Chalkboard
4' x 8' - Projection Surface
-
Retractable (motorized)
5' x 4' - Computers
- Outlets
-
Power at seats? No
- Video Conferencing
-
Available? No
- Accessibility
-
Student Wheelchair Access? No
Instructor Wheelchair Access? No
- Flooring
-
Hard
Request this room Request Help
Technology Instructions
Podium Jr.
The "Podium Jr." class of podium is controlled by a "wall button controller" which should be located on the wall nearest to the monitor. This "wall button controller" houses all system activation controls, monitor on/off button, volume up/down, source selection buttons.
Classroom activation:
1 - Monitor/Projector:
To activate the monitor or projector, you must press the "on" button on the "wall button controller" the "on" button is located near the “off” button on the left hand side of the controller. When the "on" button is firmly pressed, the monitor will then begin its activation and warmup process. To deactivate the monitor or projector, you must press the "off" button firmly, thus initiating the monitor shutdown process.
2 - Source Selection:
Once the projector is on, you may select a source to use. Source buttons are clearly visible and marked on the "remote button controller". Depending on the source with which the room is equipped, you may select PC, VGA Laptop or aux video (for any device connected to the aux inputs in the room, if applicable).
Note: This room is only equipped with a VGA laptop connection, no other media connections to the projector are possible.
Note: The selected computer, PC (where applicable), may be in hibernation mode, thus you will have to "wiggle" the mouse or press the "Esc" (escape) button on the keyboard to wake the computer.
3 - Audio:
There are three audio levels that must be taken into consideration when operating room audio. The computer audio should be at max level. The software audio should also be adjusted accordingly. The room volume can then be adjusted at the "remote button controller", using the volume up/down buttons. Note, no indicator light is available on the “Podium 2” system for volume, thus levels will have to be gauged by sound only.
4 - Microphones (if applicable):
Note: Not all classrooms are equipped with microphones.
Note: Microphones "cannot be added" to the room without them being previously equipped in the room audio/video system.
Issues, questions, or urgent assistance please contact OIT Operations desk at 713-348-4989.
"Coalesce" Wireless Collaboration System:
Coalesce creates a wireless collaboration environment using laptops, tablets, and smartphones through a simple to install application.
Operation:
The Coalesce wireless collaboration system allows the user to connect their laptop (PC/Apple), tablet (Android/Apple), or smartphone (Android/Apple) to the installed projector/display without the use of a wired connection. Both video and audio will pass to the room system. To begin using the Coalesce, you must first activate the classroom system via the touch-panel and then select the "BYOD" (Bring your own device) source on the touch-panel by pressing the "BYOD" button. With the proper source is selected, the Coalesce "splash" page will appear on the screen. The classroom number will appear at the top of the "splash" page where the user will find all the pertinent information to allow connection to the Coalesce.
First Time Connection:
The user will find the Coalesce IP address on the splash page directly underneath the room number. Enter this IP address into the address bar of their preferred web browser. Only enter the 10.xx.xxx.xx number into the address bar, the user does not need to enter the http:// at the beginning of the IP address. Once this is done the user will be directed to the Coalesce web page for this device and will be prompted to select connect. Once connect is selected a download of the Coalesce application will begin. Proceed through to the installation process and enter the IP anew once prompted by the application. With the IP entered, the user will then have to enter the key located on the splash page of the Coalesce. Once an established application connection has been made with the Coalesce, please selected one of the share options on the application and begin using the Coalesce. Note: The key code cycles to allow a safer connection, thus the key cannot be saved and will have to be entered every time a new connection to the Coalesce is needed.
Returning Users:
Please select and open the Coalesce application. Once the application is open, the user is prompted to enter the Coalesce IP address and screen access key. Once the IP has been entered, the user may select a sharing option on the application and begin using the wireless device.
